こんにちは!scouterでフロントエンジニアをしてるhirokinishizawaです!
はじめに
今回Laravel勉強version5.0.0では前回まで作っていた釣りの記録をユーザー管理するための準備でアカウント登録できるようにしました!
前回投稿した記事
アカウント登録できるようにするにあたって
最初に言っておきますLaravelでアカウント登録をできるようにするのはとても簡単です!
アカウントを登録出来るようにするにはターミナルでLaravelをインストールしたプロジェクトに移動して
php artisan make:auth
こちらを実行すると次のようにアカウント登録するたに必要なファイルやルーティングが生成されアカウント登録、ログインなどが出来るようになります!
生成されるファイルはこちらになっています!
Created View: /resources/views/auth/login.blade.php
Created View: /resources/views/auth/register.blade.php
Created View: /resources/views/auth/passwords/email.blade.php
Created View: /resources/views/auth/passwords/reset.blade.php
Created View: /resources/views/auth/emails/password.blade.php
Created View: /resources/views/layouts/app.blade.php
Created View: /resources/views/home.blade.php
Created View: /resources/views/welcome.blade.php
Installed HomeController.
Updated Routes File.
Authentication scaffolding generated successfully!
ルーティングには
<?php

Auth::routes();
Route::get('/home', 'HomeController@index')->name('home');
がweb.phpに追加されています!
Route::get('/home', 'HomeController@index')->name('home');こちらは作成されたHemeController.phpの中のindexメソッドを使用しているのはわかりますが、Auth::routes();の方はちょっとよく分かりませんでしたが今は置いておいてとりあえず出来ることが何なのかブラウザ上で確認してみようかと思います!Auth::routes();のルーティングの中身は後ほど説明したいと思います!
make:authをした後の挙動
最初の画面(topページ)
サーバーを立ち上げた後localhost:8000を開くと以前は
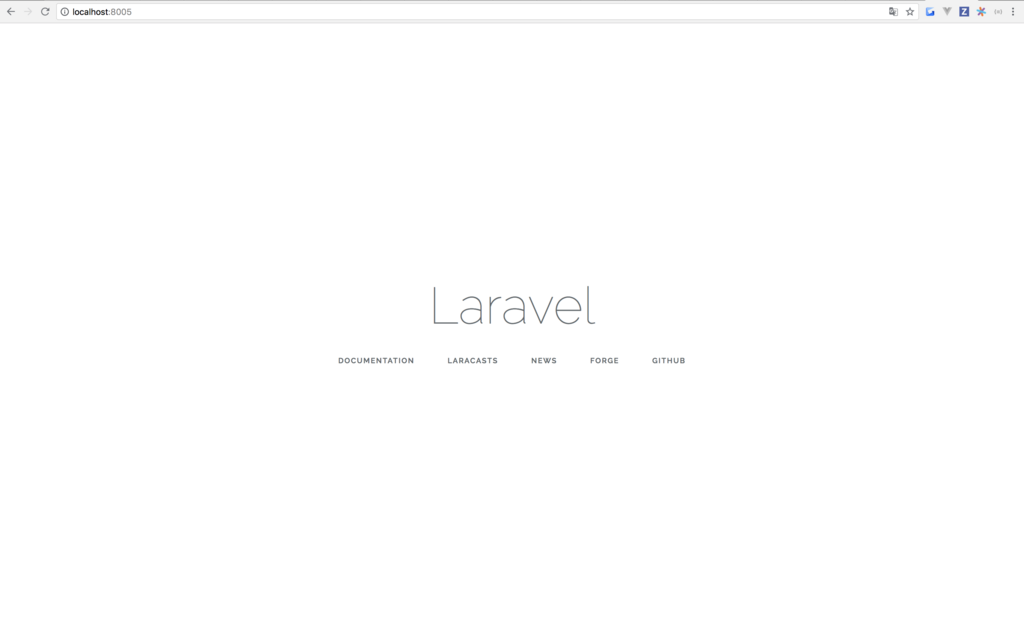
このような画面でしたが上書きされて
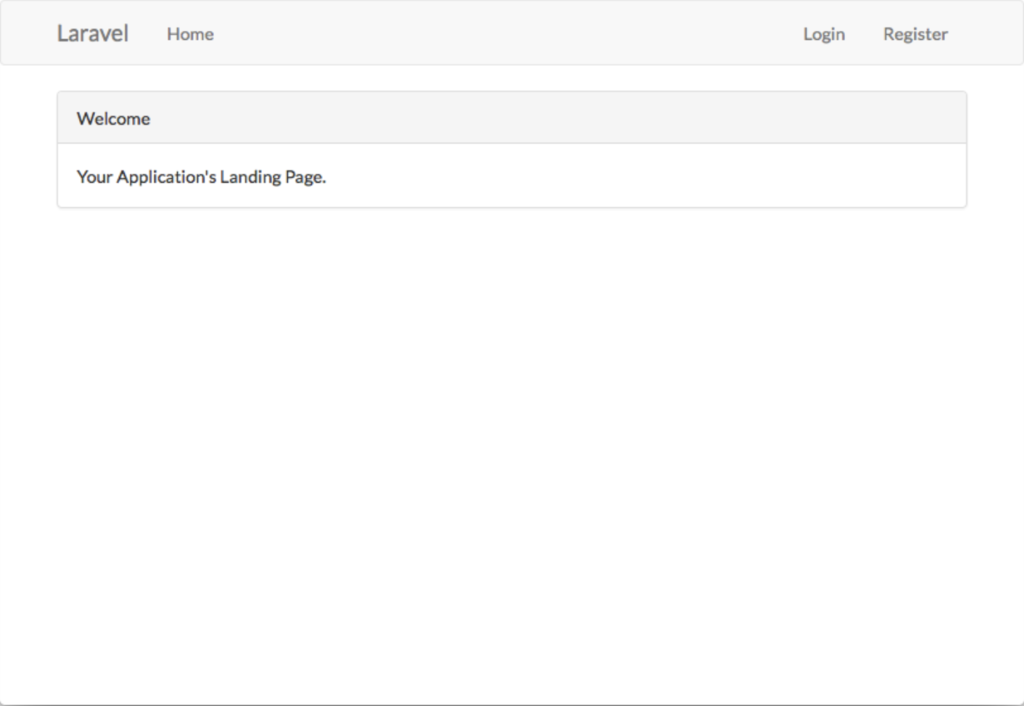
このような画面になっています!
アカウント登録,ログイン画面
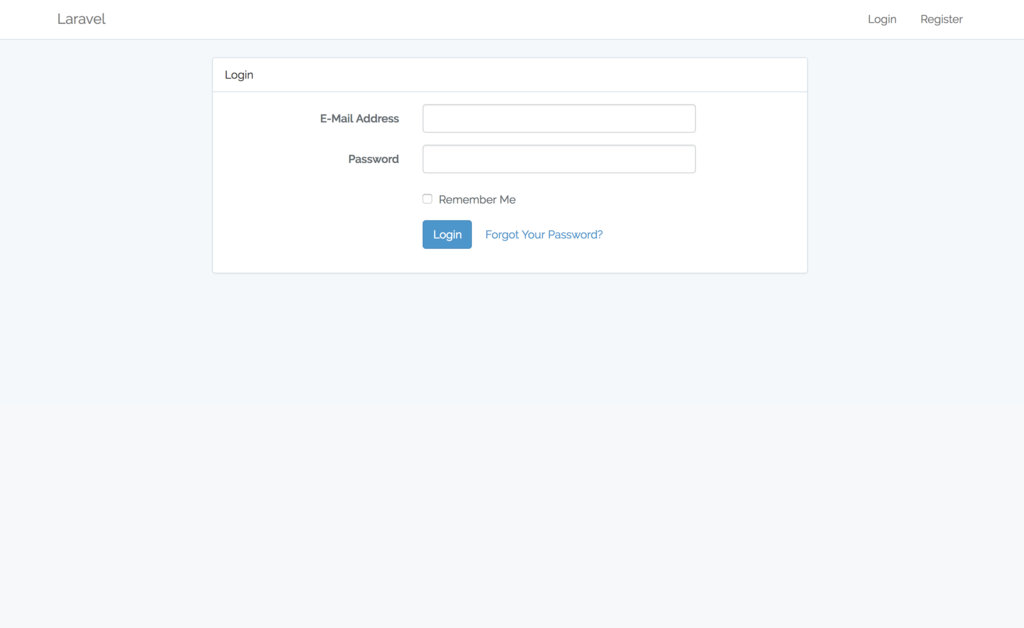
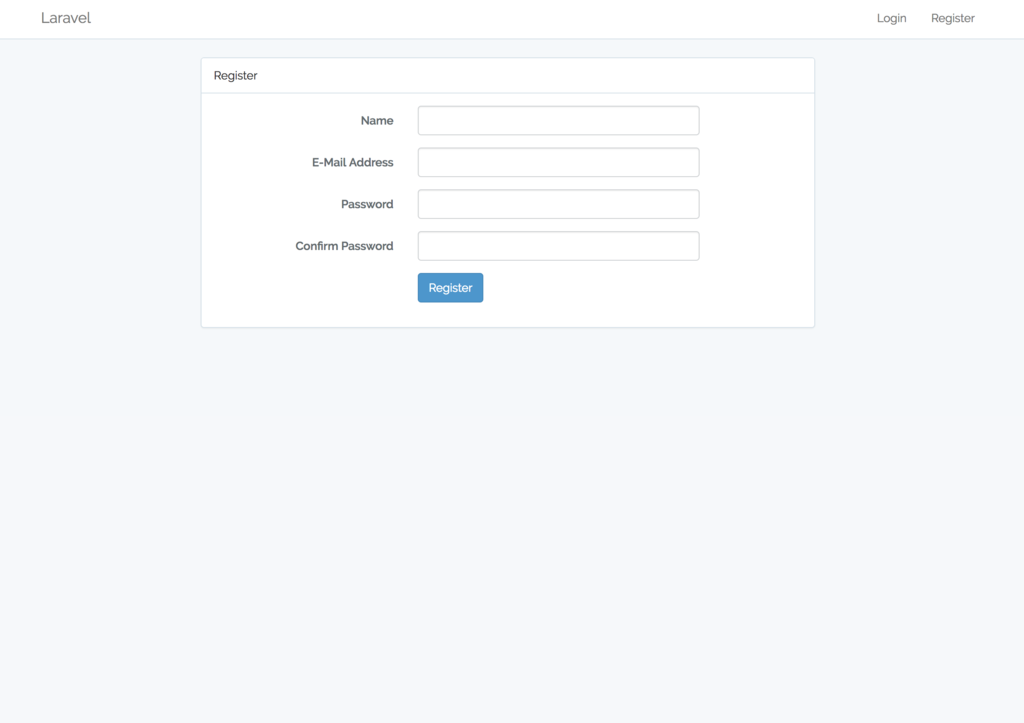
topページのヘッダーにあるloginとregisterを押すとログイン画面、アカウント登録画面にいきます。
home画面
login完了するとhome画面に行きます
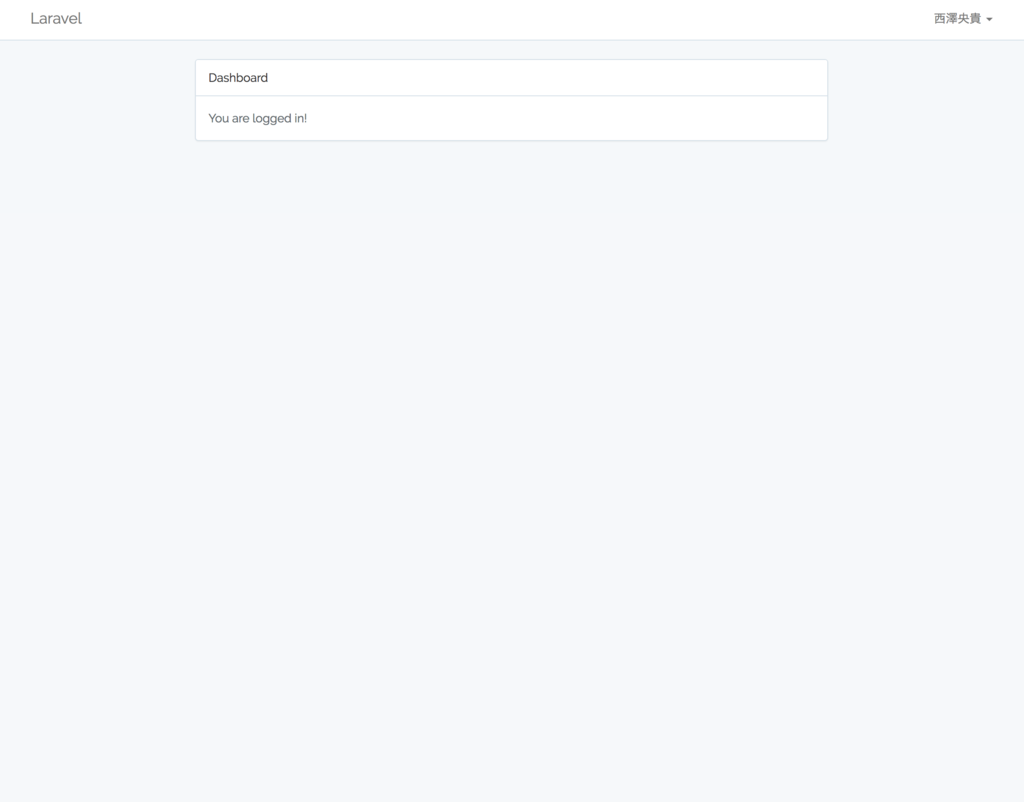
初期画面はこのようになっているのですが、自分は前回まで作っていた釣りのhome画面があるので/homeにアクセスすると

このような感じになっています!今はまだユーザー毎に記録したものを表示出来るようにしていないので、どのユーザーでアクセスしても同じ内容が表示されます!!
Forgot Your Password?
topページにあるForgot Your Password? を押すとパスワード再発行をする画面に行きます!
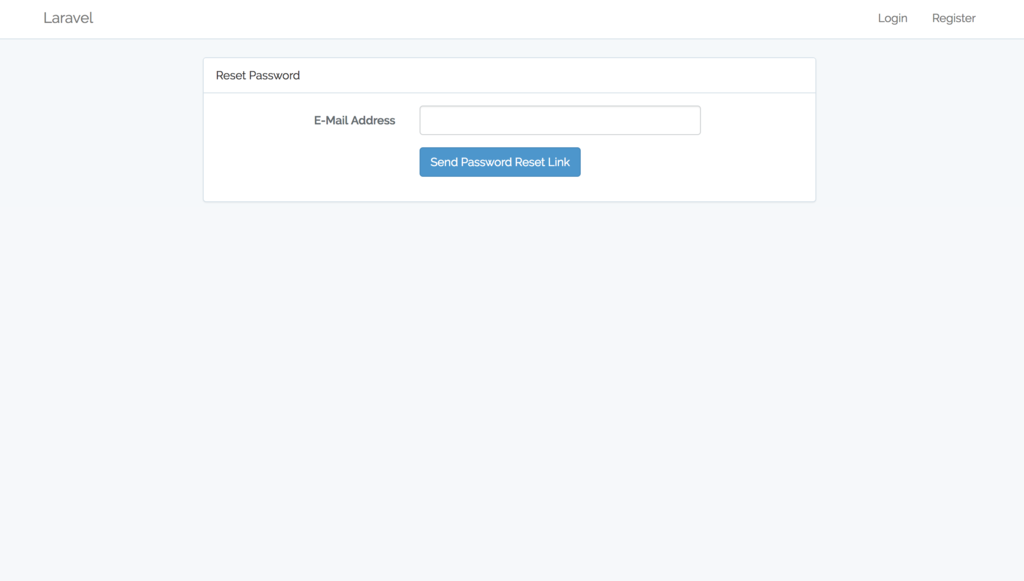
追加されたAuth::routes()の中身
冒頭でmake:authをしたときルーティングに追加されたAuth::routes()の中身について書いていこうかと思います!
ルーティングの中身
先程わからないと言っていたAuth::routes()を調べてみたら中はvender\laravel\framework\src\Illuminate\Routing\Route.phpに記載されていることがわかりました!
中のauthメソッドを見てみるとこのようになっていました!
<?php
 public function auth()
    {
        // Authentication Routes...
        $this->get('login', 'Auth\LoginController@showLoginForm')->name('login');
        $this->post('login', 'Auth\LoginController@login');
        $this->post('logout', 'Auth\LoginController@logout')->name('logout');

        // Registration Routes...
        $this->get('register', 'Auth\RegisterController@showRegistrationForm')->name('register');
        $this->post('register', 'Auth\RegisterController@register');

        // Password Reset Routes...
        $this->get('password/reset', 'Auth\ForgotPasswordController@showLinkRequestForm')->name('password.request');
        $this->post('password/email', 'Auth\ForgotPasswordController@sendResetLinkEmail')->name('password.email');
        $this->get('password/reset/{token}', 'Auth\ResetPasswordController@showResetForm')->name('password.reset');
        $this->post('password/reset', 'Auth\ResetPasswordController@reset');
    }
login画面を例として話していきます。login画面はルーティングを見る感じLoginControllerのshowLoginFormメソッドに書かれているのがわかると思います!ですがLoginControllerを見てみるとshoLoginFormというメソッドは見つかりませんでした。他のルーティングも見る限りApp\Http\Controllersの中のControllerファイルにはありませんでした。
結局分からず一度調べることに。。。
認証系のメソッドはほぼトレイトとして実装されており、その実体は、Illuminate\Foundation\Auth\以下に存在します。
らしいです。。。。。
こちらはmake:authを実行した際にAuth::routes();が追加されたことによって参照されるようになるみたいです!
すごい便利。。。笑
改めてLaravelの凄さを実感しました!笑
ではアカウント登録をするとき、ログインをしたときの動きをControllerファイルで見ていきましょう!
アカウント登録をするとき
ルーティング
// Registration Routes...
        $this->get('register', 'Auth\RegisterController@showRegistrationForm')->name('register');
        $this->post('register', 'Auth\RegisterController@register');
RegisterController@showRegistrationForm'
<?php
public function showRegistrationForm()
    {
        return view('auth.register');
    }
こちらはただアカウント登録をするページを表示するだけのメソッドでした!
RegisterController@register
<?php
public function register(Request $request)
    {
        $this->validator($request->all())->validate();

        event(new Registered($user = $this->create($request->all())));

        $this->guard()->login($user);

        return $this->registered($request, $user)
                        ?: redirect($this->redirectPath());
    }
登録したらその場でログインをし、AuthControllerで設定されたリダイレクト先へリダイレクトするようになっています。というわけで/homeにリダイレクトされます!
ログインするとき
ルーティング
// Authentication Routes...
        $this->get('login', 'Auth\LoginController@showLoginForm')->name('login');
        $this->post('login', 'Auth\LoginController@login');
LoginController@showLoginForm
<?php
public function showLoginForm()
    {
        return view('auth.login');
    }
こちらはただログインする画面を表示するだけのメソッドでした!
LoginController@login
<?php
public function login(Request $request)
    {
        $this->validateLogin($request);

        // If the class is using the ThrottlesLogins trait, we can automatically throttle
        // the login attempts for this application. We'll key this by the username and
        // the IP address of the client making these requests into this application.
        if ($this->hasTooManyLoginAttempts($request)) {
            $this->fireLockoutEvent($request);

            return $this->sendLockoutResponse($request);
        }

        if ($this->attemptLogin($request)) {
            return $this->sendLoginResponse($request);
        }

        // If the login attempt was unsuccessful we will increment the number of attempts
        // to login and redirect the user back to the login form. Of course, when this
        // user surpasses their maximum number of attempts they will get locked out.
        $this->incrementLoginAttempts($request);

        return $this->sendFailedLoginResponse($request);
    }
認証がOKならログイン処理が行われます。 その他にもスロットル処理が行われており、ここではログインを何度も失敗して一定の数を超えると、しばらくログインできないという処理が加わっています。
最後に
このようにLaravelでアカウント認証の処理をしたいと思ったらphp artisan make:authをするだけで簡単にできます!本当に便利だと思いました!
来週はアカウント認証系のスタイルを釣りの記録用に変更をしたり釣りの記録をユーザー別に管理をしてみようかなーと思います!
このブログと同時に本日12:00にNuxtMeetUp #5を公開しました!10/18日です!ぜひご参加ください!