こんにちは、株式会社SCOUTERの石岡 将明( @masaakikunsan )です。
2019年が始まり、一ヶ月が過ぎようとしていますが、皆さんはどうお過ごしでしょうか? 私は、プログラミングを始め2年が経ちWeb以外にも手をつけていこうかと考えている今日このごろです。
ということで、今回は弊社サービス SARDINE のAPIと Flutter で求人が見れるアプリを作ったので Flutter について書いていこうと思います。
Flutter とは
Android と iPhone のアプリ開発を行うためのフレームワークです。 Flutter の開発は、 Google によって開発された Dart というプログラミング言語を使用します。
Flutter の特徴
- 同じコードを使用して、Android と iPhoneのアプリ開発ができる
- Hot Reload により、リアルタイムで変更が確認できる
- Material や Cupertino といった Widget を使用することでアプリっぽい見た目を簡単につくれる
なぜ Flutter を選んだのか
冒頭でも述べた通り、私は2019年はアプリにも手を出そうと考えていました。 アプリをやるなら、Swift や Kotlinなどいろいろ選択肢がある中で私は React が書けるので React Native に手を出そうとしていました。
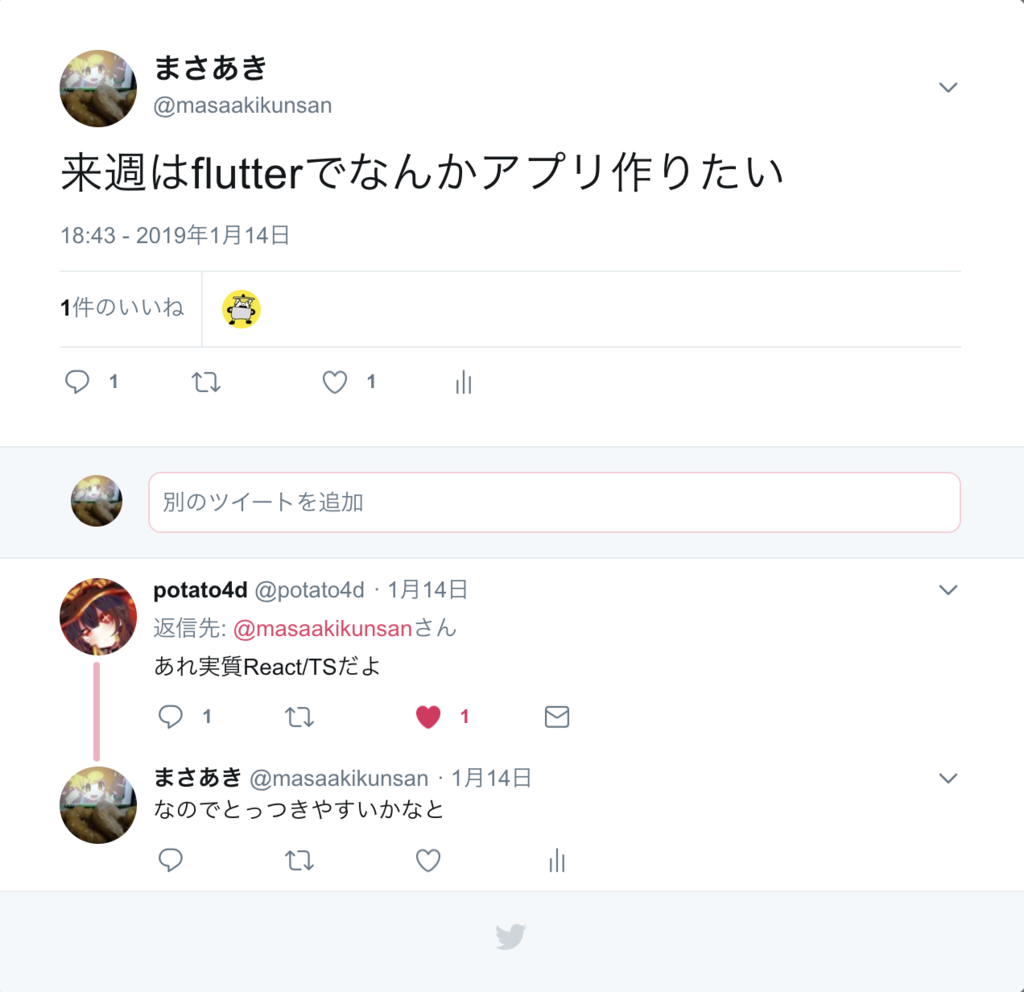
そんな中とある日に、「JavaScript のような Java のようなプログラミング言語の Dart で開発できる Flutter というフレームワークがあるよ」と天の声が聞こえ、お!と思い Twitter に やるぞの意思表示をしたところ 実質 React + TS と言われたので触らない理由はなかったです。
私は、 普段 JS で開発をしており、フリー時代には Java のフレームワークである Spring Boot でAPI開発もしたことがあり、React 開発経験者でもある為 Flutter に興味を持ち触ることにしました。

入門
それでは早速、Flutter の入門を解説していきます。
まずはじめに Flutter SDK をダウンロードします。下記 URL からダウンロードしましょう。
SDK のダウンロードが終わったら、好きな場所で解凍してください。
次に、Flutter の コマンドをどこからでも使えるように、PATH の登録を行います。
私は zsh を使っているので .zshrc に以下を追加しました。
export PATH=$PATH:$HOME/flutter/bin
追加したら、反映するために下記コマンドを実行します。
$ source ~/.zshrc
これで Flutter が使える状態です。
開発をするための設定
今回は iOS の開発をする予定だったので XCode の設定をしました。 App Store か 公式サイトから XCode をインストールしましょう。
インストールが完了したら、ライセンスに同意しましょう。
$ sudo xcodebuild -license
これで Flutter 開発をするまでの準備が整いました。
プロジェクトの作成
プロジェクトを作成しきましょう。 flutter create <project_name> をターミナルで実行することでプロジェクトを作成できます。
作成したら起動してみましょう。
$ cd project_name
$ flutter run
そうすると Counter のアプリが開かれるかと思います。
デモコードの解説
ディレクトリを見ると lib フォルダがあります。
ここにアプリケーションのプログラムを書いていきます。
さっそく lib/main.dart のコードを見ていきましょう。
import 'package:flutter/material.dart';

void main() => runApp(MyApp());

class MyApp extends StatelessWidget {
  // This widget is the root of your application.
  @override
  Widget build(BuildContext context) {
    return MaterialApp(
      title: 'Flutter Demo',
      theme: ThemeData(
        // This is the theme of your application.
        //
        // Try running your application with "flutter run". You'll see the
        // application has a blue toolbar. Then, without quitting the app, try
        // changing the primarySwatch below to Colors.green and then invoke
        // "hot reload" (press "r" in the console where you ran "flutter run",
        // or simply save your changes to "hot reload" in a Flutter IDE).
        // Notice that the counter didn't reset back to zero; the application
        // is not restarted.
        primarySwatch: Colors.blue,
      ),
      home: MyHomePage(title: 'Flutter Demo Home Page'),
    );
  }
}

class MyHomePage extends StatefulWidget {
  MyHomePage({Key key, this.title}) : super(key: key);

  // This widget is the home page of your application. It is stateful, meaning
  // that it has a State object (defined below) that contains fields that affect
  // how it looks.

  // This class is the configuration for the state. It holds the values (in this
  // case the title) provided by the parent (in this case the App widget) and
  // used by the build method of the State. Fields in a Widget subclass are
  // always marked "final".

  final String title;

  @override
  _MyHomePageState createState() => _MyHomePageState();
}

class _MyHomePageState extends State<MyHomePage> {
  int _counter = 0;

  void _incrementCounter() {
    setState(() {
      // This call to setState tells the Flutter framework that something has
      // changed in this State, which causes it to rerun the build method below
      // so that the display can reflect the updated values. If we changed
      // _counter without calling setState(), then the build method would not be
      // called again, and so nothing would appear to happen.
      _counter++;
    });
  }

  @override
  Widget build(BuildContext context) {
    // This method is rerun every time setState is called, for instance as done
    // by the _incrementCounter method above.
    //
    // The Flutter framework has been optimized to make rerunning build methods
    // fast, so that you can just rebuild anything that needs updating rather
    // than having to individually change instances of widgets.
    return Scaffold(
      appBar: AppBar(
        // Here we take the value from the MyHomePage object that was created by
        // the App.build method, and use it to set our appbar title.
        title: Text(widget.title),
      ),
      body: Center(
        // Center is a layout widget. It takes a single child and positions it
        // in the middle of the parent.
        child: Column(
          // Column is also layout widget. It takes a list of children and
          // arranges them vertically. By default, it sizes itself to fit its
          // children horizontally, and tries to be as tall as its parent.
          //
          // Invoke "debug painting" (press "p" in the console, choose the
          // "Toggle Debug Paint" action from the Flutter Inspector in Android
          // Studio, or the "Toggle Debug Paint" command in Visual Studio Code)
          // to see the wireframe for each widget.
          //
          // Column has various properties to control how it sizes itself and
          // how it positions its children. Here we use mainAxisAlignment to
          // center the children vertically; the main axis here is the vertical
          // axis because Columns are vertical (the cross axis would be
          // horizontal).
          mainAxisAlignment: MainAxisAlignment.center,
          children: <Widget>[
            Text(
              'You have pushed the button this many times:',
            ),
            Text(
              '$_counter',
              style: Theme.of(context).textTheme.display1,
            ),
          ],
        ),
      ),
      floatingActionButton: FloatingActionButton(
        onPressed: _incrementCounter,
        tooltip: 'Increment',
        child: Icon(Icons.add),
      ), // This trailing comma makes auto-formatting nicer for build methods.
    );
  }
}
コードを読めばだいたい想像つくと思うので細かい説明は省きます。
画面表示は Widget と呼ばれる部品によって作成されています。 Sample Codeでは StatefulWidget つまりステートを持てる Widget でボタンとテキストをもったClassがあり、それを MyApp class のHomeに設定しています。 MyApp classではtitleの設定や、themeの設定もしており、main関数を使ってアプリを起動しているといった感じです。
作成物
今回は、SARDINE API を使用し、ログインし求人が見れるアプリを作りました。 Navigator でページ遷移したり、API を叩いてログインや求人を取得したりしています。
昨日 Flutter の勉強を始め、1日で作ったのでもう少し詳しくなったタイミングでコードと一緒に紹介するブログを書かせてください。
こんな感じでアプリ作ってみた。
— まさあき (@masaakikunsan) January 30, 2019
むずい pic.twitter.com/kFoB8bsRhs
まとめ
Flutter は Web エンジニアでもすぐにかじることができ良いフレームワークでした。 しかし、用意されている Widget を検索したり仕様を把握しないといけないのでちゃんと書けるレベルになるにはかなりドキュメントを読む必要があるなと感じました。 また、アプリでは Web と違い localStorage が使えなかったりと State 周りでかなり苦労しそうです。 次ちゃんと触るときは Redux が使えるようなので Redux で状態管理も考えながら作成しようかなと思います。
2月半ばにAPIの叩き方やページ内のレイアウト作り方などをちゃんと解説したブログを書こうと思うのでお楽しみに!
最後に
現在、株式会社SCOUTERでは、エンジニア、デザイナーの募集をしております。
興味のある方は、是非下記からご応募お願い致します!